Step 2: Serverless를 이용한 Lambda - SQS - Lambda 구조 생성

serverless framework를 이용하여 메시지 큐(SQS)를 이용한 producer/consumer 구조를 생성하고 배포한다.
서버리스프레임워크 확인하기
sls --version
serverless
AWS - node.js sqs worker을 선택해준다.

디렉토리 구조는 이렇게 형성되어 있다.
step:1와 같이 serverless.yml에서 리전을 설정해준다.
그리고 배포해준다
serverless deploy
producer, jobsWorker 람다가 생겼다
내용은 똑같지만 트리거에 따른 함수가 다르다. (index.js를 보면 된다)


index.js를 살펴보자
const { SQSClient, SendMessageCommand } = require("@aws-sdk/client-sqs");
const sqs = new SQSClient();

const producer = async (event) => {
  let statusCode = 200;
  let message;

  if (!event.body) {
    return {
      statusCode: 400,
      body: JSON.stringify({
        message: "No body was found",
      }),
    };
  }

  try {
    await sqs.send(new SendMessageCommand({
      QueueUrl: process.env.QUEUE_URL,
      MessageBody: event.body,
      MessageAttributes: {
        AttributeName: {
          StringValue: "Attribute Value",
          DataType: "String",
        },
      },
    }));

    message = "Message accepted!";
  } catch (error) {
    console.log(error);
    message = error;
    statusCode = 500;
  }

  return {
    statusCode,
    body: JSON.stringify({
      message,
    }),
  };
};

const consumer = async (event) => {
  for (const record of event.Records) {
    const messageAttributes = record.messageAttributes;
    console.log(
      "Message Attribute: ",
      messageAttributes.AttributeName.stringValue
    );
    console.log("Message Body: ", record.body);
  }
};

module.exports = {
  producer,
  consumer,
};
해당 코드는 자바스크립트를 사용하여 aws sqs를 이용한 producer-consumer패턴을 구현한 코드이다.
위에는 프로듀서 함수가 아래에는 컨슈머함수가 작성되어있다.
- @aws-sdk/client-sqs 모듈에서 SQSClient 와 SendMessageCommand를 import한다.
- SQSClient 객체를 생성하고, sqs 변수에 할당한다.
- producer 함수는 AWS Lambda의 핸들러 함수로 작성되어 'event'를 인자로 받아 SQS 큐에 메시지를 보내는 역할을 한다.
- 먼저 statusCode와 message 변수를 초기화한다.
- 만약 event.body 값이 없다면 400 Bad Request 에러를 반환한다
- SQS 메시지 전송을 시도하고, 성공적으로 보낸경우에는 'message'변수에 'Message accepted!' 문자열을 할당한다.
- 실패한 경우에는 에러 메시지를 'message'변수에 할당하고 statusCode를 500으로 변경한다.
- 마지막으로 HTTP 응답을 반환한다.
- consumer 함수는 SQS메시지를 소비(consume)하는 함수로 작성되어 evnet를 인자로 받는다.
- event.Records 배열에서 SQS 메시지 레코드를 하나씩 가져오고, 해당 메시지의 속성과 내용을 출력한다
- producer와 consumer함수를 내보낸다.
위의 코드는 aws lambda 함수를 통해 SQS 큐에 메시지를 보내고, 이를 소비하는 간단한 producer-consumer구조의 애플리케이션을 구현한 것이다.
producer에서 테스트를 해보자
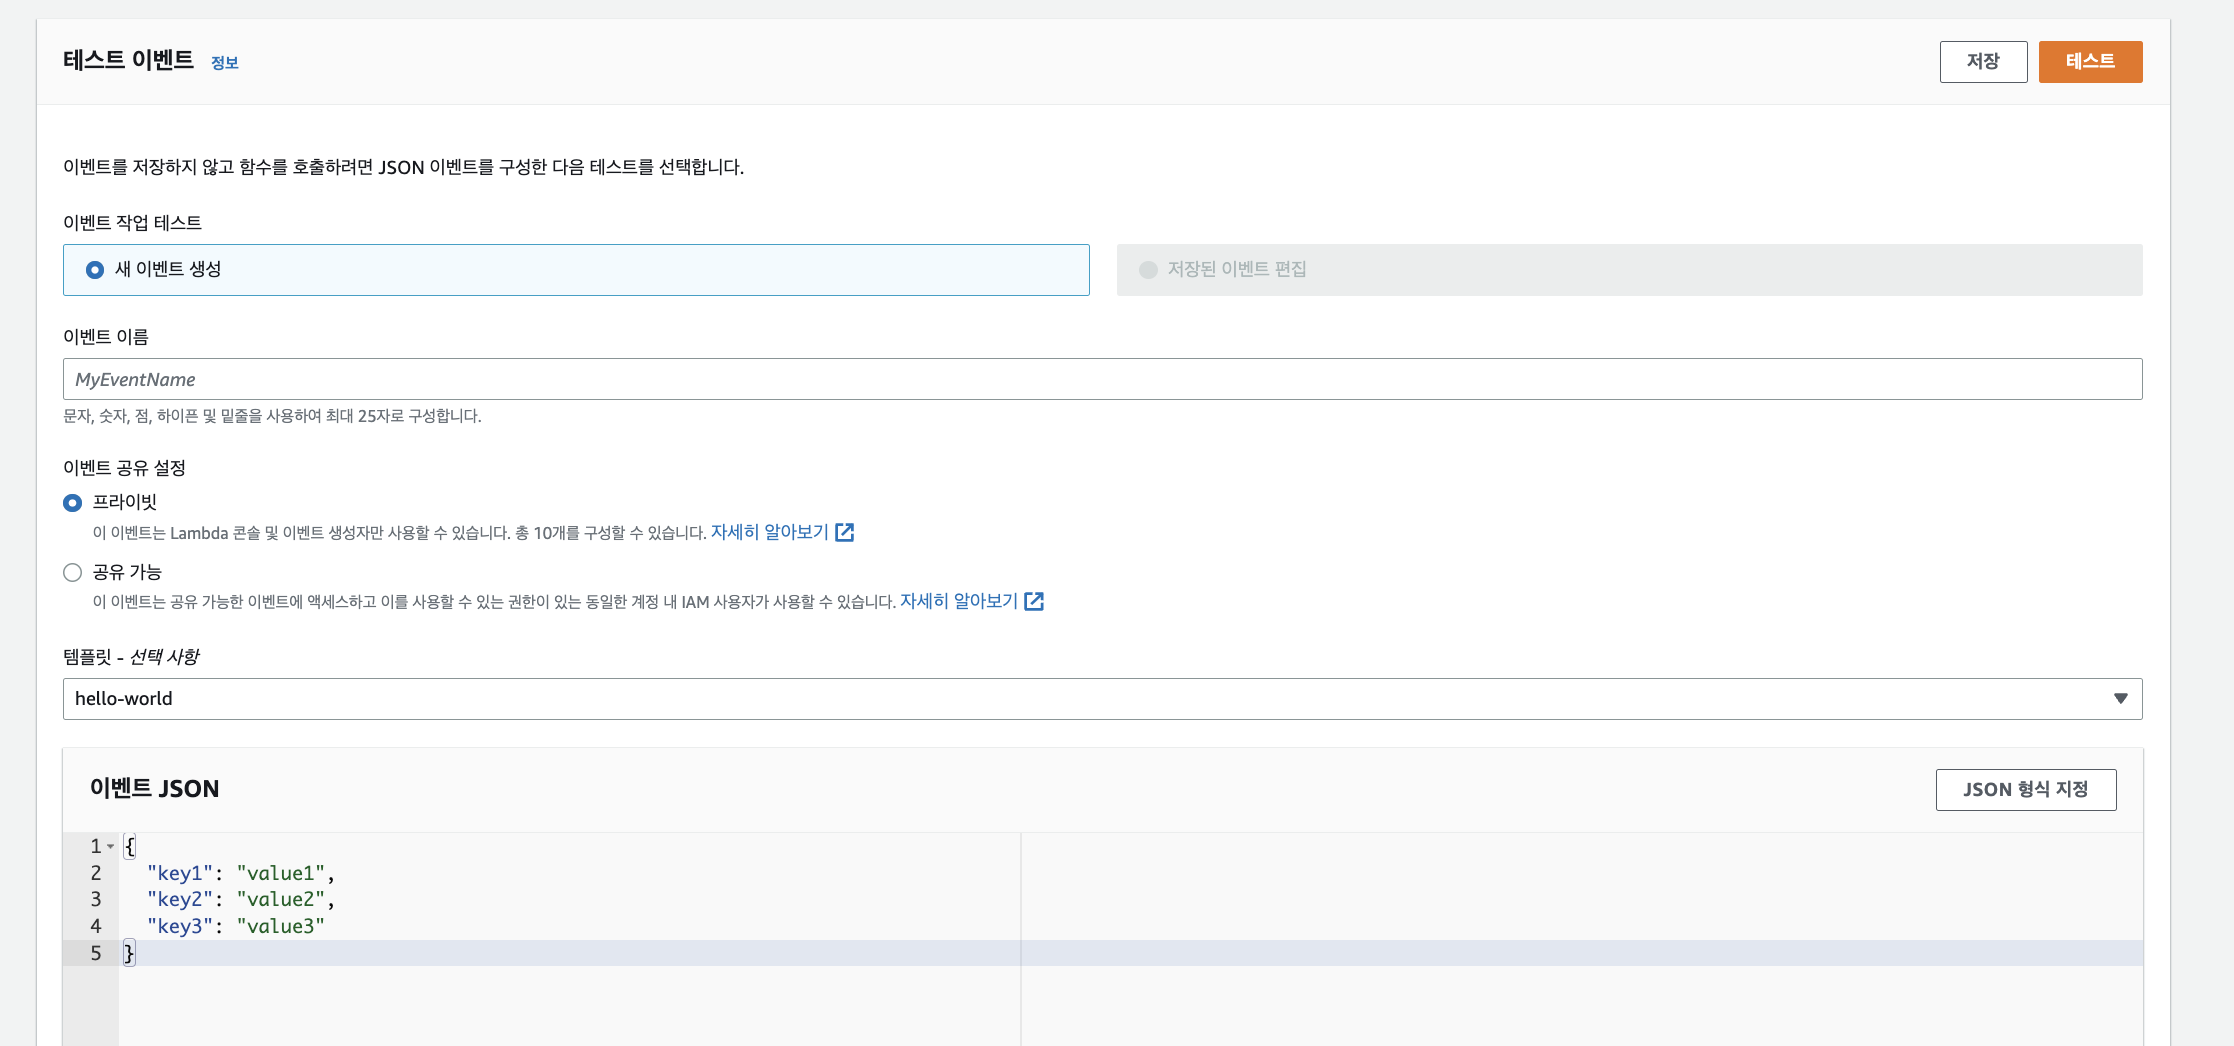
이렇게 테스트를 해보면

no body was found라고 에러가 뜬다.

이벤트 json에 바디를 넣어주고 테스트를 다시 해보자

그럼 이제 메시지가 잘 받아졌다고 확인할 수 있다.
클라우드 와치를 통해 확인해보면

body메시지에 hello가 도착했다!
index.js를 편집해보자
아래코드를 통해 컨슈머를 구현해주자
const consumer = async (event) => {
  for (const record of event.Records) {
    console.log("Message Body: ", record.body);

    let inputValue, outputValue
    // TODO: Step 1을 참고하여, +1 를 하는 코드를 넣으세요

    const message = `메시지를 받았습니다. 입력값: ${inputValue}, 결과: ${outputValue}`
    console.log(message)

  }
};
최종 index.js
const { SQSClient, SendMessageCommand } = require("@aws-sdk/client-sqs");
const sqs = new SQSClient();

const producer = async (event) => {
  let statusCode = 200;
  let message;

  if (!event.body) {
    return {
      statusCode: 400,
      body: JSON.stringify({
        message: "No body was found",
      }),
    };
  }

  try {
    await sqs.send(new SendMessageCommand({
      QueueUrl: process.env.QUEUE_URL,
      MessageBody: event.body,
      MessageAttributes: {
        AttributeName: {
          StringValue: "Attribute Value",
          DataType: "String",
        },
      },
    }));

    message = "Message accepted!";
  } catch (error) {
    console.log(error);
    message = error;
    statusCode = 500;
  }

  return {
    statusCode,
    body: JSON.stringify({
      message,
    }),
  };
};


const consumer = async (event) => {
  for (const record of event.Records) {
    console.log("Message Body: ", record.body);

    let inputValue, outputValue

    // TODO: Step 1을 참고하여, +1 를 하는 코드를 넣으세요
    if (record.body) {
    let body = JSON.parse(record.body)

    inputValue = parseInt(body.input)
    outputValue = inputValue + 1
   }

    const message = `메시지를 받았습니다. 입력값: ${inputValue}, 결과: ${outputValue}`
    console.log(message)

  }
};


module.exports = {
  producer,
  consumer,
};
코드를 변경하고 디플로이
serverless deploy
그럼 이제 curl명령어를 통해 확인해주자
curl -X POST https://API_GATEWAY_ID.execute-api.ap-northeast-2.amazonaws.com \
--header 'Content-type: application/json' \
--data-raw '{ "input": 1 }'
Not Found가 떴다..
serverless.yml을 다시확인해보면
path가 /produce라고 되어있다.

수정 후 message accepted를 받을 수 있다.
프로듀서를 여러 번 반복해서 실행할 수 있을까?
→ 쉘 스크립트의 반복문을 이용해서 반복적으로 실행할 수 있다
https://www.cyberciti.biz/faq/bash-for-loop/

for i in {1..5}

do

 curl -X POST api엔드포인트/produce \
--header 'Content-type: application/json' \
--data-raw '1'

done
쉘 스크립트 반복문을 사용해서 message accepted를 다섯번 확인완료!

클라우드 와치에서도 로그를 확인해보면 값이 제대로 나온 것을 확인할 수 있습니다!!
'프로젝트3' 카테고리의 다른 글
| (2) Lambda 서버 - DB 연결 (0) | 2023.02.20 |
|---|---|
| (2) 프로젝트 3 : MSA (0) | 2023.02.20 |
| (1) DLQ 연결 및 K6 성능테스트 (0) | 2023.02.19 |
| (1) Serverless를 이용한 Lambda 생성 (0) | 2023.02.18 |
| (1) 프로젝트 3: 마이크로서비스 개요 (0) | 2023.02.18 |